[Reference: https://www.izotope.com/en/learn/5-basic-audio-effects-every-vocalist-should-know.html]
1. Reverb
Reverb is used on just about all vocal tracks to create a sense of space. Without reverb, the recording sounds unnatural; with reverb, you can make it sound like it is in a large church or stadium.
Ableton Live has two types: Reverb and Hybrid Reverb
2. Compression
Compression is automatic volume control. It helps even out vocal recordings so they don’t get lost in the mix or overpower other song elements. Most vocal recordings contain volume changes—a singer may start softly but belt out the chorus. With compression, you can minimize these peaks and dips.
For lead vocals, compression is used to lower loud transients that clip or annoy. This is done by setting a threshold—all words that are below the threshold will remain untouched, and everything above it will be slightly reduced for that moment.
Even if a singer is fairly consistent during the recording process, producers often add compression to tighten up the vocal mix.
3. De-ess
A de-esser is a type of compression tuned to be sensitive to noisy, high-frequency vocal sounds called sibilance. The main culprits are Sss sounds, which is where the de-esser gets its name, but the letters F, X, and T can introduce issues as well.
Words with accentuated sibilances scratch listeners’ ears, especially if they use headphones. They are generally thought of as simply annoying, but can also cause distortion.
Microphones that capture a lot high end are typically prone to sibilance issues. Too much compression can lead to these nasty whistling sounds too, so always place your de-esser before a compressor in your effects chain.


4. EQ
EQ (aka equalization) is used to sculpt the frequency content of vocals, instruments, and effects so they sound good together in a mix.
When referencing frequency content, producers and engineers use three main categories: lows, mids, and highs. In music, lows are sub and bass frequencies, and highs are the harmonics that give clarity and space to a mix. Vocals fall into the mid range and can spill into the highs. Male vocals are usually at the bottom end of this spectrum and female vocals are up top.
Most other instruments occupy the mid range too. EQ is a valuable tool because it allows you to cut frequencies that occupy the same space as vocals, lending to a sense of balance in the final mix.
Listen to EQ in action. First, removing low frequencies, then the mids, then the highs.
Ableton Live has two type, EQ Three and EQ Eight.
5. Pitch correction
Pitch correction works by reading the pitch of a vocal and correcting the off-key notes. Over the last decade, it’s become the go-to effect for all popular music. If a singer does a great take with one sour note, pitch correction can fix it, without the need for a re-do.
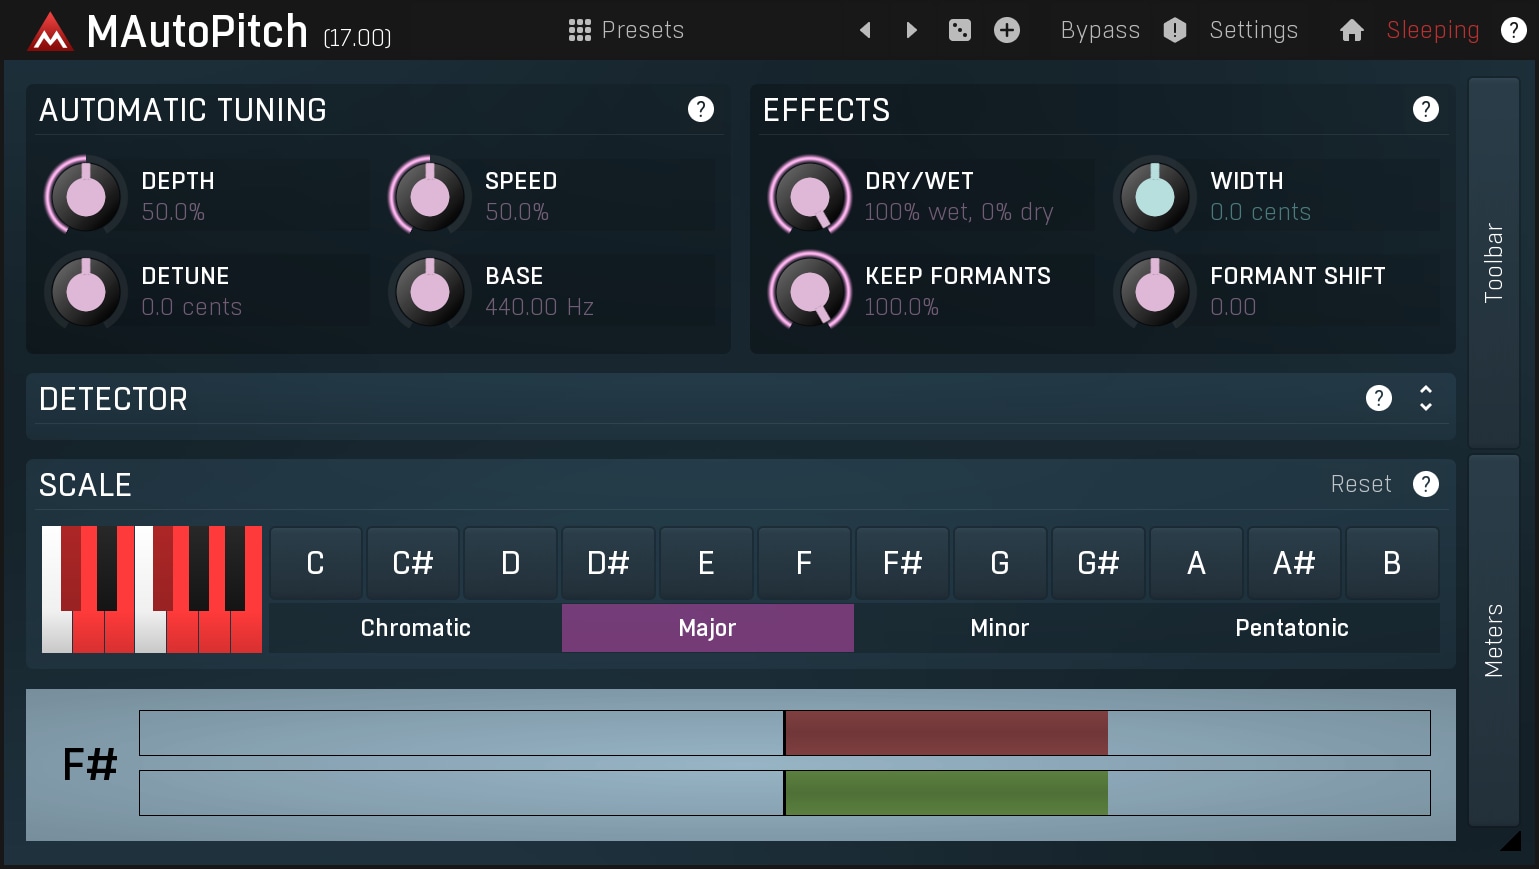
MAutoPitch is a simple but great sounding automatic pitch correction plugin designed for vocals and other monophonic instruments. Besides making the audio more in-tune, MAutoPitch also provides creative features such as formant shift and stereo-expansion. It is quick, easy to use and free.
Comments
Post a Comment